-
 Kevin Yu
- 01 Jan, 2023
CKA, CKAD Prep
In the summer of 2022, I decided that it was time to try again to learn a bit about Kubernetes because it’s something that becomes more and more …

The Linux command line is a text interface to your computer. Often referred to as the shell, terminal, console, prompt or various other names, it can give the appearance of being complex and confusing to use. This article will walk you through the most useful commands that you might need for your AI development, and you may also apply the techniques for your development on the Cloud. I’ll assume no prior knowledge, so let’s start with the basics.
 1# Move to a specific directory
 2$ cd ./DIR_PATH
 3
 4# Go back to the parent directory
 5$ cd ..
 6
 7# Navigate to the HOME directory
 8$ cd ~
 9# OR
10$ cd ${HOME}
11
12# Get the path of the current directory
13$ pwd
14# OR
1# Only show the non-hidden files
2$ ls
3# Show all files including the hidden files
4$ ls -a
5# Show all files and their information such as file size
6$ ls -lah
 1# Create a folder
 2$ mkdir folder_name
 3
 4# Create a file with an ext
 5$ touch file_name.ext
 6# Create a file inside an existing folder
 7$ touch folder_path/file_name.ext
 8
 9# Remove a file or a folder
10$ rm -rf file_path
11# Remove all files in a folder
12$ rm -rf *
1# Move a file to a specific directory
2$ mv file_name path_directory
3
4# Rename a File
5$ mv original_filename new_filename
1# Find the path of a named file
2$ find / -iname file_name  # may change "/" to a specific folder path
1# Backup a file
2$ cp original_file_path backuped_file_path
3# * means all files
4$ cp original_file_path/* backuped_file_path
1# Extract files to a specific directory
2$ tar xvf file.tar -C output_dir
3$ tar xvzf file.tgz -C output_dir
4$ tar xvzf file.tar.gz -C output_dir
5$ unzip input_dir/file.zip -d output_dir
1# Compress a single file
2$ zip newfilename.zip input_dir
3
4# Compress multiple files
5$ zip newfilename.zip filename1  filename2
Linux is a clone of UNIX, the multi-user operating system which can be accessed by many users simultaneously. Linux can also be used in mainframes and servers without any modifications. But this raises security concerns as an unsolicited or malign user can corrupt, change or remove crucial data. For effective security, Linux divides authorization into 2 levels — Ownership and Permission. More info here .
1chmod – change permissions
2chown – change ownership.
 1# Add a new user
 2$ sudo -i
 3$ adduser user_name
 4# set the password
 5
 6# Grant sudo account for an existing Ubuntu/Debian Linux user
 7$ usermod -aG sudo username
 8
 9# Excute sudo command without password
10$ sudo visudo
11# Append the following entry to the last line to run ALL command without a password for a user:
12# user_name ALL=(ALL) NOPASSWD:ALL
13
14# Changing file/directory permissions with 'chmod' command
15$ chmod permissions filename
16# Number    Permission Type        Symbol
17# 0 No Permission                   ---
18# 1 Execute                         --x
19# 2 Write                           -w-
20# 3 Execute + Write                 -wx
21# 4 Read                            r--
22# 5 Read + Execute                  r-x
23# 6 Read + Write                    rw-
24# 7 Read + Write +Execute           rwx
25$ chmod 777 filename # -> to give user access to read, write, and execute
26
27# Symbolic Mode
28# Operator  Description
29# + Adds a permission to a file or directory
30# - Removes the permission
31# = Sets the permission and overrides the permissions set earlier.
32$ chmod permissions filename # -> to give user access to execute
SSH is typically used to log into a remote machine and execute commands, but it also supports tunneling, forwarding TCP ports and X11 connections; it can transfer files using the associated SSH file transfer (SFTP) or secure copy (SCP) protocols. SSH uses the client-server model.
For Edge devices such as the Raspberry Pi and Nvidia Jetson, you might need to control your devices remotely, thereby SSH is a good tool for you.
You will need to enable the SSH settings in your local devices/machines in the terminal, or you will not be able to log in and access files remotely.
1$ sudo -i
2$ nano /etc/ssh/sshd_config
3# Find the lines with "Password Authentication", and set the value from no to yes
4# or comment out the "#" the line with "Password Authentication"
5# you may also enable "PermitRootLogin", but you need to set a password for root first.
6# To enable "PermitRootLogin", comment out the "#" in the same line, and set to "yes"
7# Ctrl-X Y -> save and exit
8$ passwd root
On your local Desktop/Latop, open a new terminal and type the following commands:
1$ ssh username@ip_adress
2# To login as root, you need to set a password for root first
On your local Desktop/Latop, open a new terminal and type the following commands:
1# Notes: this method only works if you successfully log in to your device with a password before, or you have manually uploaded the key-pair files to your devices
2# Generating a key pair
3$ ssh-keygen -t rsa
4# Copying the public key you just created on your home computer to your device/server
5$ ssh-copy-id -i ~/.ssh/id_rsa.pub username@server_ip
6# Now you will be able to log in to your device without the password
7$ ssh username@ip_adress
8# Or you may log in with the private key (ends without the .pub ext) that you just generated from your local machine
9$ ssh username@ip_adress -i path_to_private_key
jetson-stats is a package to monitoring and control your NVIDIA Jetson (Nano, Xavier, TX2i, TX2, TX1) embedded board.
1$ sudo apt-get install -y python3-pip python3-dev python3-setuptools
2$ sudo -H pip install -U jetson-stats
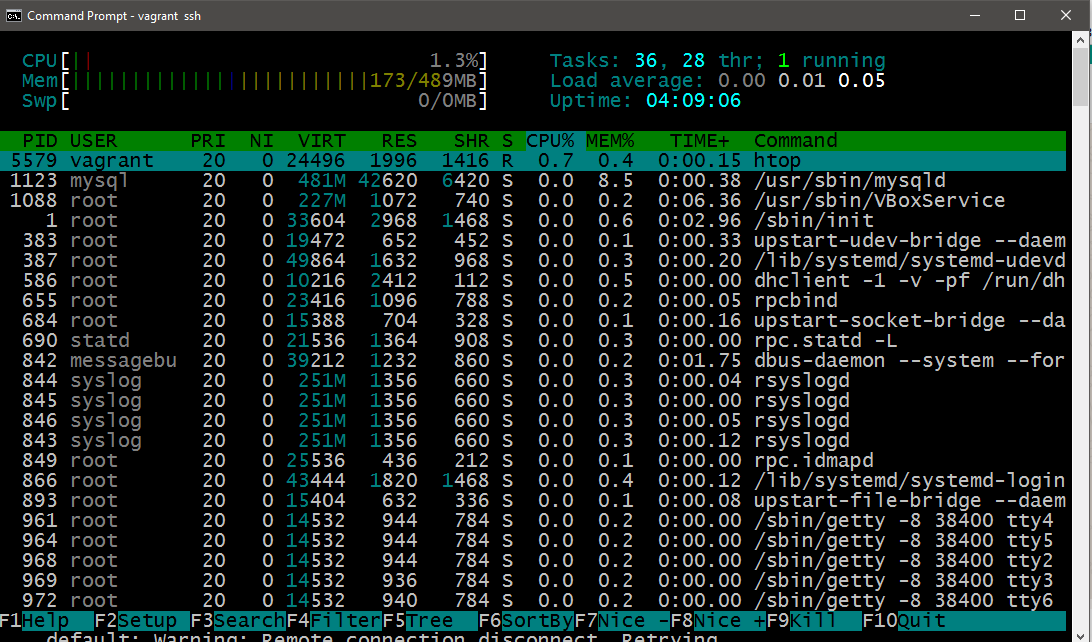
Htop is an interactive system monitor, process viewer and process manager designed for Unix systems.)
1$ sudo apt-get install -y htop
2$ htop
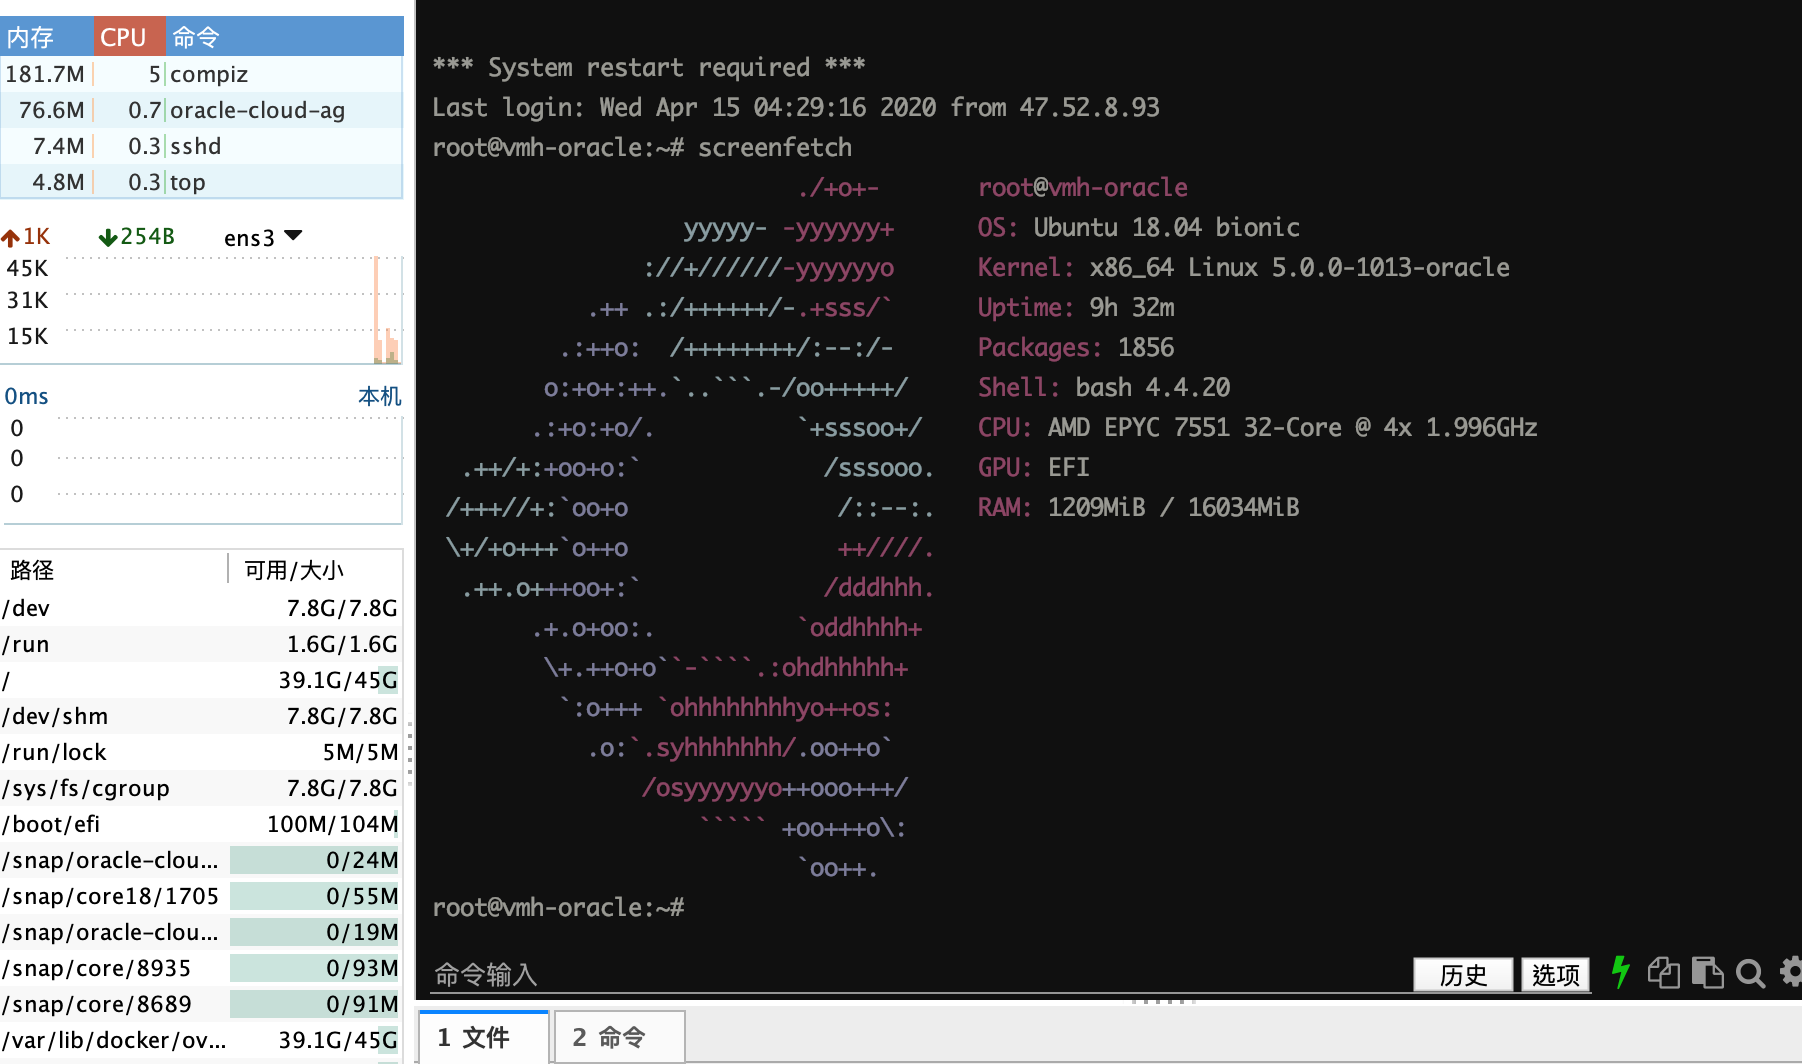
ScreenFetch is an ultimate system information generator for Linux
1$ sudo apt-get -y screenfetch
2$ screenfetch
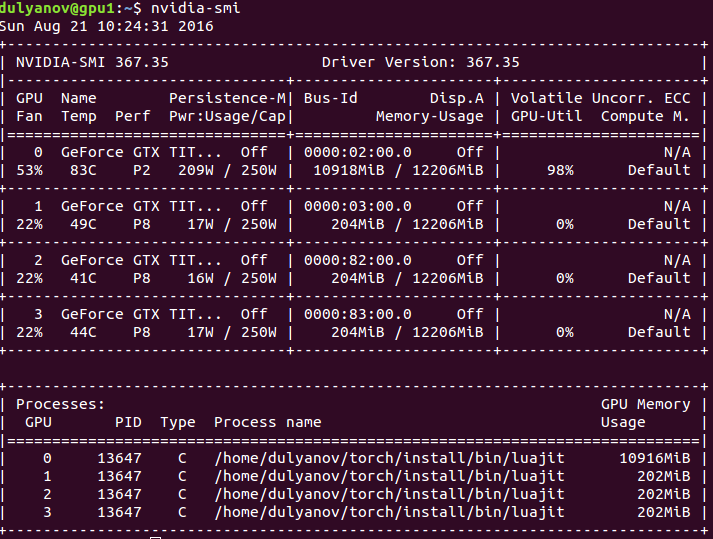
The NVIDIA System Management Interface (nvidia-smi) is a command line utility, based on top of the NVIDIA Management Library (NVML), intended to aid in the management and monitoring of NVIDIA GPU devices.
Unfortunately, it is not compatible with the Jetson platform. However, any operation system running with x86 should work fine.
1$ nvcc --version
2$ nvidia-smi
A web interface of gpustat — aggregate gpustat across multiple nodes.
1$ pip install gpustat
2$ gpustat

1# Show the RAM Usage status on your local device/machine
2$ free -m
1# Show all disks storage on your local device/machine
2$ df -h
You might want to check out more useful commands for monitoring your system loads. Check it out here .
If you have already walked through all the commands above, let’s move forward to the intermediate commands tutorial at Series #2 (Intermediate) . Enjoy !
Written By
In the upcoming months and years, I want to help make learning Machine Learning and Cloud Computing topics easier by writing lots of articles showing of practice cases on Cloud and Edge devices. Furthermore, I’m planning on creating an AI and Cloud …
In the summer of 2022, I decided that it was time to try again to learn a bit about Kubernetes because it’s something that becomes more and more …
Recently, I found a very interesting open-source project called mosdns, which is regarded as the next-generation DNS resolver from the user’s …